


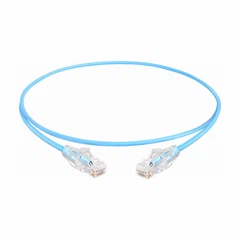
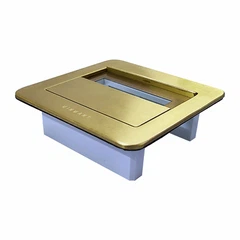
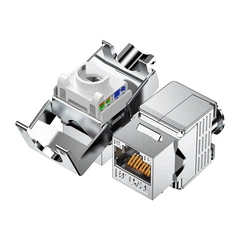
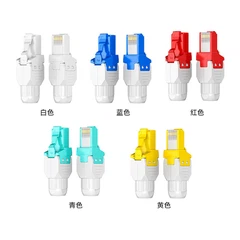

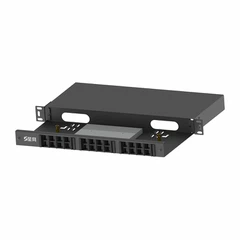

Hey there! As a supplier of network patch panels, I know how crucial it is to keep these little workhorses in tip - top shape. A clean network patch panel not only looks good but also ensures smooth data transmission and extends the lifespan of your equipment. So, let's dive into how to clean a network patch panel.
Why Cleaning Matters
First off, you might be wondering why you even need to clean a network patch panel. Well, over time, dust, dirt, and debris can accumulate in and around the patch panel. This build - up can cause a bunch of problems. For example, dust can interfere with the electrical connections, leading to signal loss or intermittent connectivity. And let's not forget about the potential for corrosion in a dirty environment, which can seriously damage your patch panel.


Tools You'll Need
Before you start cleaning, gather the necessary tools. You don't need anything super fancy, just a few common items:
- Compressed air canister: This is great for blowing out dust from hard - to - reach places.
- Lint - free cloth: You'll use this to wipe down the surface of the patch panel.
- Isopropyl alcohol: A small amount of isopropyl alcohol can help remove stubborn dirt and grime. Make sure it's at least 70% alcohol.
- Small brush: A soft - bristled brush, like a paintbrush or a keyboard cleaning brush, can be used to gently dislodge dust from the ports.
Pre - cleaning Precautions
Safety first! Before you start cleaning, you need to take a few precautions.
- Power off: Make sure the network equipment connected to the patch panel is powered off. This will prevent any electrical shocks and protect your equipment from damage.
- Label the cables: If you have a lot of cables connected to the patch panel, it's a good idea to label them. This way, you can easily reconnect them correctly after cleaning.
Step - by - Step Cleaning Process
Step 1: Remove Loose Dust
Start by using the compressed air canister. Hold the canister upright and spray short bursts of air into the ports and around the edges of the patch panel. This will blow out a lot of the loose dust. Be careful not to hold the canister too close, as this can cause the liquid in the can to spray out, which isn't good for your patch panel.
Step 2: Brush the Ports
Next, take your small brush and gently brush the inside of the ports. This will help dislodge any dust that's stuck in the corners. Move the brush in a circular motion to get all the nooks and crannies.
Step 3: Wipe the Surface
Dampen your lint - free cloth with a small amount of isopropyl alcohol. Wring it out well so it's just slightly moist. Then, wipe down the surface of the patch panel, including the front and the sides. This will remove any dirt or fingerprints. Avoid getting alcohol inside the ports, as it can damage the electrical components.
Step 4: Clean the Cables
Don't forget about the cables! Use the same damp cloth to wipe down the cables connected to the patch panel. This will remove any dust or dirt that's accumulated on them.
Step 5: Re - check and Reconnect
Once you've finished cleaning, take a final look at the patch panel to make sure there's no remaining dust or dirt. Then, carefully reconnect the cables according to your labels.
Different Types of Patch Panels
We offer a variety of patch panels, each with its own characteristics. For example, the Category 5e Patch Panel is a popular choice for Ethernet networks. It can support speeds up to 1 Gigabit per second and is suitable for most home and small - business applications.
The Category 6A Patch Panel is a step up. It can handle much higher speeds, up to 10 Gigabits per second, and is better at reducing crosstalk and interference. This makes it a great option for larger businesses and data centers.
If you're looking for something more basic, the Category 3 Patch Panel is still a viable choice. It's often used for older telephone systems and some low - speed data networks.
Maintenance Tips
Cleaning your network patch panel isn't a one - time thing. To keep it in good condition, you should perform regular maintenance.
- Schedule regular cleanings: Depending on the environment, you might want to clean your patch panel every 3 - 6 months. If it's in a dusty or dirty area, you may need to clean it more often.
- Inspect for damage: While cleaning, take a close look at the patch panel and the cables for any signs of damage, such as frayed cables or broken ports. Replace any damaged components as soon as possible.
Conclusion
Cleaning a network patch panel might seem like a small task, but it can have a big impact on the performance and longevity of your network. By following these simple steps and using the right tools, you can keep your patch panel clean and your network running smoothly.
If you're in the market for a new network patch panel or have any questions about our products, don't hesitate to reach out. We're here to help you find the best solution for your needs. Whether you're a small business owner or part of a large enterprise, we've got the patch panels to meet your requirements. Contact us today to start a procurement discussion and take your network to the next level.
References
- "Network Cabling Installation and Maintenance Guide" by TechPub Publishing
- "Best Practices for Network Equipment Care" by Network World Magazine